Installation Instructions for ProScore v5.12.0
Important Note:
As with any update for any software, it is always a good idea to make a backup of your system before installing any updates. This is just a precautionary measure.
- Click on the ProScore5120Install.exe filename to start the download.
- You will be prompted to either Save the file or Run the file.
Choose to Save the file on your Desktop.
- Be sure ProScore is NOT running before going on to the next steps.
- On your Desktop, run the program called ProScore5120Install.exe.
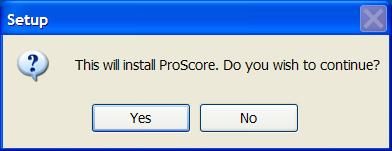
- You will be asked if you want to install ProScore. Click Yes.
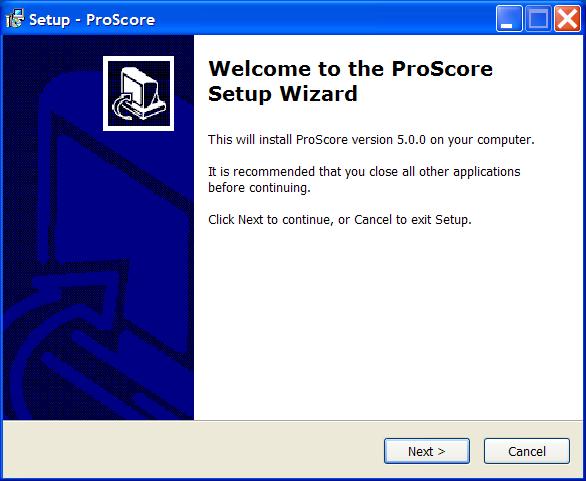
- The Welcome screen of the installer will appear.
Click Next to continue.
- You will then be prompted for the location to install ProScore. The default is
C:\ProScore5. If you also have ProScore v4 installed, DO NOT
install ProScore v5 into the same folder as v4. If you already have
ProScore v5 installed on your computer, you should make sure this folder is
the same as the folder ProScore v5 was previously installed into.
Click the Browse button if you need to change the installation
folder. Click the Next button to continue.

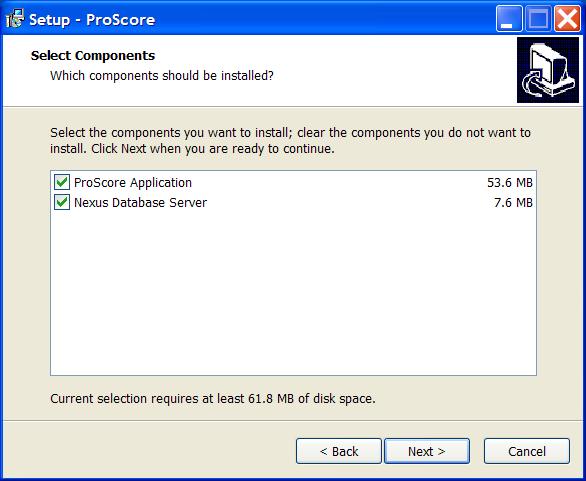
- You are now prompted to select which components to install. The
Nexus Database Server must be installed on at least one computer. If
you are planning to use ProScore on multiple computers and have them share a
common database then you do not need to install the Nexus Server on each
computer. Just the main computer. If this is just a single
computer installation, then leave both choices selected. Click the Next button to continue.
If the Nexus Database Server is already installed and is the current version
then that choice will not be shown.
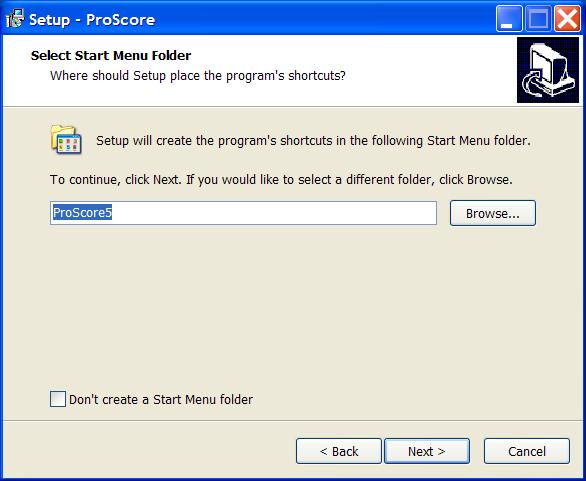
- Select the name of the Start Menu folder to be used to hold the ProScore
icons. Click Next to continue.
- If you want Setup to create icons on your Desktop or Quick Launch bar
then select the appropriate choices. Click Next to continue.

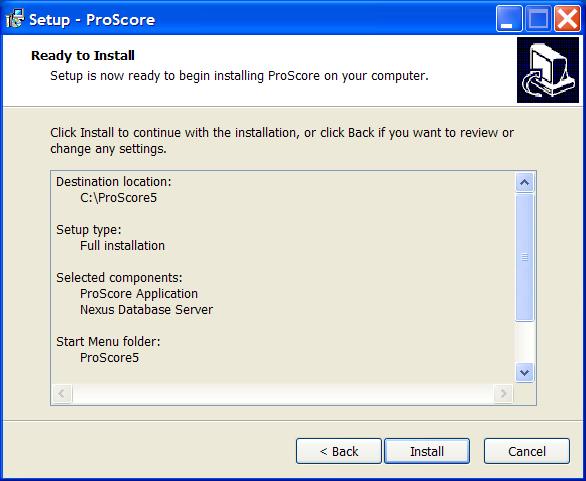
- Setup is now ready to install ProScore. Review your install
settings and click Back to make any changes before proceeding.
Click Install to continue.
- Setup will begin extracting and installing all the files.

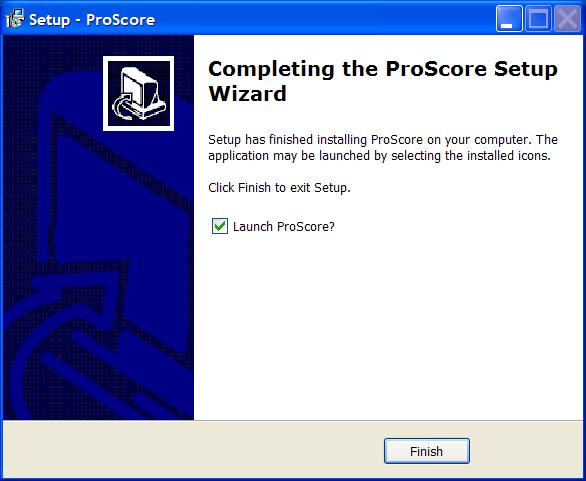
- The ProScore installation is now complete. Click Finish to
continue.
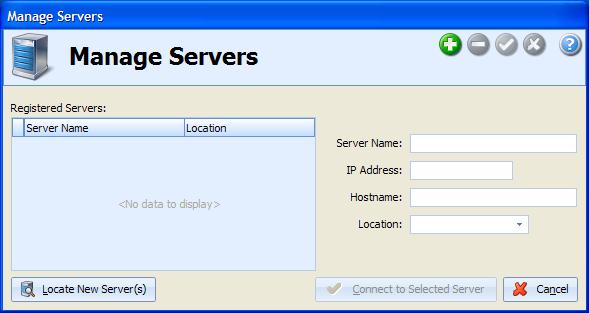
- If this is the first time you have run ProScore on this computer, then you
will be asked to select which Database Server you want to connect to.
Since this is the first time, the list of servers will be empty. Click
the Locate New Server(s) button to search for an existing server.
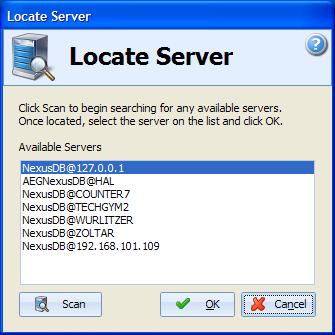
- This screen displays all the Nexus Database Servers that exist on your
network. There may be more than one entry displayed. Each entry
corresponds to a database server that responded to ProScore's request.
The default entry that you should select is
NexusDB@127.0.0.1. This entry corresponds to the database
server that is installed on your computer. If you are using ProScore
on a network and are sharing a common database server, then you should
select the entry that corresponds with the main computer. If the entry
that you are looking for does not appear on the list, then it may be that
the server is on a different network or a firewall is blocking the scan
request. Click OK after making your selection.
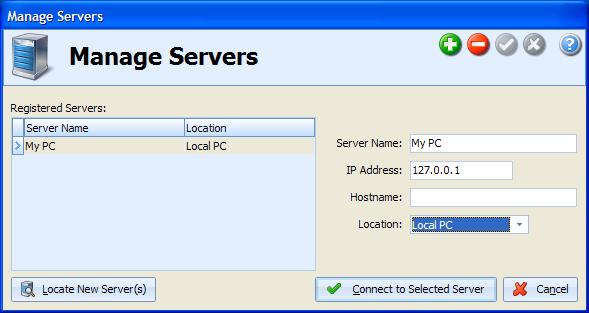
- Once you have located a server, you can give it a name and save it by
clicking the green checkmark icon at the top of the screen. Click the
Connect to Selected Server button to continue.
- Since this is the first time running ProScore on this computer there
will not be a ProScore database on the server. Click the option to
create a new ProScore database.

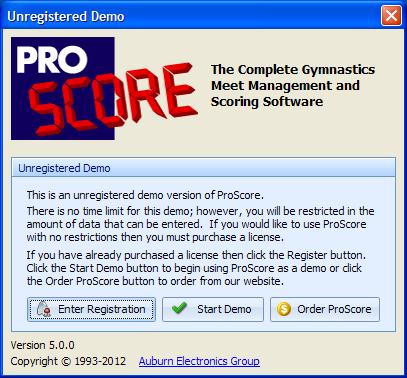
- After the new ProScore database is created you will shown the
registration screen. If you have a registration code then click the
Enter Registration button and go to the next step. If you don't
have a registration code then you can either click the Start Demo
button to continue using ProScore as a demo with limited functionality, or
you can click the Order ProScore button to be taken to our website
where you can order a license online.
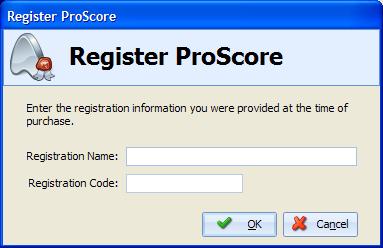
- On this screen you should enter the registration name and code that were
provided to you via email from Auburn Electronics Group following your
purchase of ProScore. The Name should be entered exactly as it appears
in the email with proper case and punctuation. The easiest way is just
to copy-n-paste the values from your email. Click OK to
continue.